
How Neon Digitizing Ensures Quality Before Every File Is Delivered
A finished-looking file and a good file are not the same thing. Plenty of digitized designs open cleanly and preview fine on a screen. They still cause problems the moment they hit a real machine. The gap between those two outcomes is quality control before delivery. It’s the part of the process that shops skip most often when they’re racing to hit a fast turnaround.
Here’s what actually happens between digitizing the design and sending the file to the client, at least on our end.
Why Quality Control Before Delivery Isn’t Just a Final Glance
It’s tempting to think of quality control as a quick look-over before hitting send. In practice, catching real problems means checking specific things a general glance won’t surface. A file can look correct in preview software and still go wrong in three ways. Density might be set wrong for the fabric. The color sequence might add unnecessary trims. Small text might blur out once it’s stitched at real size.
Quality control before delivery, done properly, isn’t one step. It’s a handful of specific checks, each catching a different kind of mistake.
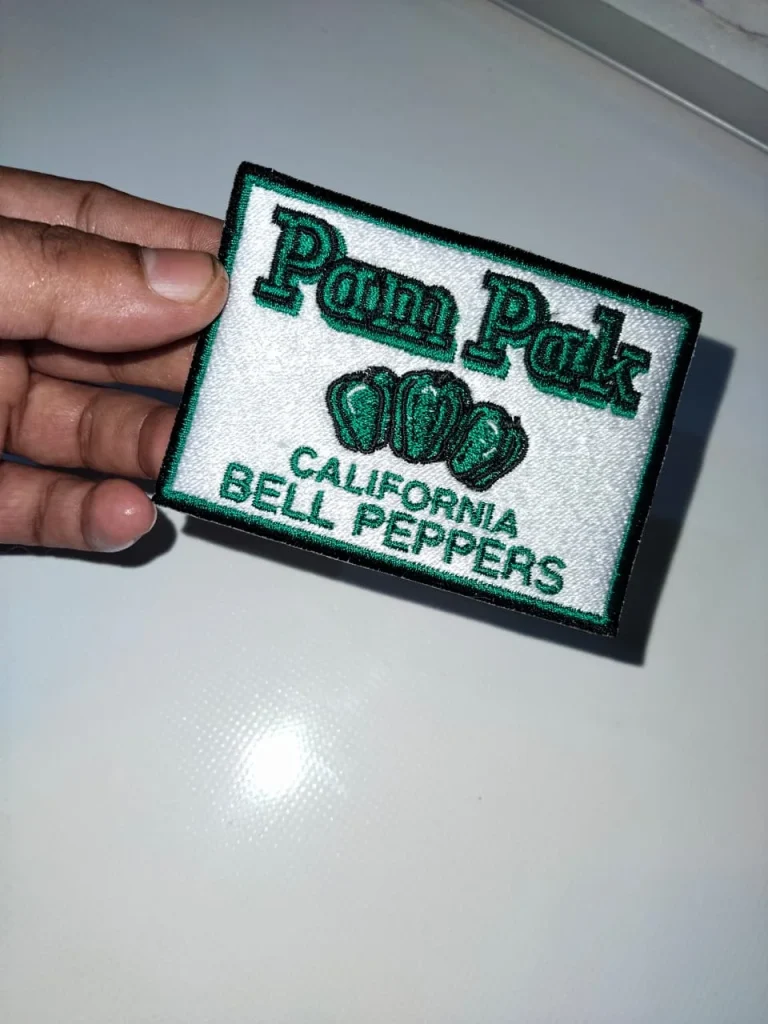
Step One: Comparing the Digitized File Against the Original Artwork
The first check is simple but easy to rush. Does the stitched design actually match the artwork it was built from? Proportions, spacing, and color placement all need to line up with the original file, not just look “close enough.” Small shifts happen during digitizing, especially around curved letterforms or fine detail. They’re easiest to catch by placing the original artwork and the digitized preview side by side, rather than relying on memory of what the logo was supposed to look like.
This step also catches color mismatches early, before they turn into a bigger problem further down the line. A logo with a specific brand blue needs the correct thread match confirmed now. Waiting until a batch is already stitched in the wrong shade costs far more.
Step Two: Reviewing Stitch Density and Underlay Choices
We review every file specifically for density and underlay before it moves forward. This happens separately from the general visual check. We confirm the density actually matches the fabric type the client specified, not whatever the software defaulted to. A design set at commercial-fabric density but intended for a lightweight t-shirt is a problem. It stays invisible in a digital preview and becomes obvious once stitched.
We check underlay the same way. Missing or mismatched underlay is one of the most common reasons a file looks fine on screen and still puckers or shifts on fabric. If we didn’t set underlay correctly for the fabric and design size, we catch and correct it here. That happens before it becomes a physical problem on a client’s garment.
Density that looks right for a jacket back can be wrong for a small left chest logo on the same fabric. The ratio of stitch count to design size changes everything about how it sits once stitched. That’s a large part of why we check quality control design by design, rather than applying one standard setting across every order.
Step Three: The Physical Stitch-Out Test
This is the part that separates a genuinely careful process from a rushed one. Before any new client logo or new fabric type ships as final, we run an actual stitch-out. That means a real sample stitched on fabric as close as possible to what the client will actually use.
A screen preview cannot show thread tension issues. It can’t show whether small text holds up at real size. It can’t show how the design behaves once a needle and real fabric are involved. The stitch-out test closes that gap. It adds roughly twenty minutes to the process for a standard design. It’s consistently the step that catches problems nothing else would.
What We Do When the Stitch-Out Reveals a Problem
The stitch-out sometimes reveals an issue. Maybe there’s puckering. Maybe the color trim sequence is clunky in practice. Maybe detail is too fine to survive at the requested size. When that happens, we correct it and test again before moving forward. We don’t ship anything as final based on a digital preview alone.
We’ve had orders where a design passed every visual check and still puckered slightly on the actual stitch-out. The fabric simply behaved differently than expected once real tension came into play. That’s exactly the kind of issue quality control before delivery exists to catch. A screen can’t replicate what a needle does to real fabric under real tension.
Step Four: Checking the File Against the Client’s Actual Machine
A perfectly built file still fails if it’s the wrong format for the client’s equipment. Quality control before delivery means confirming the export format matches what the client requested. That could be DST, PES, EXP, JEF, or VP3. We double-check it against the machine brand and model the client provided, rather than assuming.
This step also includes a basic technical check. We confirm stitch count is reasonable for the design size. We verify there are no unnecessary trims or jump stitches in the file. We make sure color change commands sit where they should, rather than scattered inefficiently through the design.
Step Five: A Second Set of Eyes
Whoever digitized the file isn’t the only person who reviews it before it goes out. A second review, even a quick one, catches things the original digitizer might miss. That’s simply because they’ve been staring at the same design for the last hour. This isn’t about distrust in the original work. It’s a basic acknowledgment that everyone misses small things when they’re too close to a project. A second look is one of the cheapest ways to prevent an avoidable mistake from reaching a client.
Step Six: Documenting What Was Done
The last part of quality control before delivery isn’t about the stitch file itself. It’s about writing down what decisions we made so we don’t lose them the next time that design needs reproducing. We note thread colors, the fabric we tested on, and any density adjustments alongside the file. Months later, a client might reorder the same logo for a different batch or fabric. That record means we rebuild the design correctly instead of guessing from scratch.
What Happens When Something Doesn’t Pass
Not every file passes every check on the first attempt. We treat that as a normal part of the process, not a failure. If density needs adjusting, we adjust and test it again. If underlay was wrong for the fabric, we correct it. If fine detail didn’t survive at the requested size, we flag it for the client directly. That’s better than shipping it anyway and letting them discover it on a full production run.
Being upfront about a design limitation before production matters, even when it means a slightly awkward conversation about simplifying a logo. It’s part of what quality control before delivery actually means in practice. It beats staying quiet and letting a client find out the hard way after 200 pieces are already stitched.
Why This Matters More for Custom Patches Than People Expect
Quality control matters across every service we offer. It carries extra weight on custom patch design, where designs are often worked at a smaller scale than a standard logo. Fine detail that holds up fine on a jacket back can easily blur or bunch up on a two-inch patch. That makes the stitch-out test even more important at this size, not less.
The same standard applies to our embroidery digitizing service for standard logo work. It also applies to any project that starts with our vector art conversion service before digitizing begins. A clean vector file makes the entire quality control process downstream more reliable. The digitizer works from accurate shapes and proportions instead of guessing at a blurry or low-resolution original.
Anyone digitizing files in-house and running into recurring issues at the quality check stage might find Brother’s own embroidery machine support resources useful. They’re a solid reference point for tension and density behavior on specific machine models.
The Honest Version of Why This Takes Time
None of this is complicated in concept. Compare the file to the original artwork. Check density and underlay against the fabric. Run a real stitch-out. Confirm the format matches the client’s machine. Get a second set of eyes on it. Write down what we did for next time. Skipping any single step doesn’t always cause a visible problem. It just makes one more likely. Usually it’s the client who finds out, on their own machine, after their own fabric and thread are already spent.
Quality control before delivery isn’t a marketing phrase. It’s the specific list of checks above, run the same way for a single logo or a larger production batch. The time it adds upfront is small compared to the cost of a reprint or a wasted batch. It’s also small compared to losing a client who doesn’t reorder because the first file didn’t hold up. It’s a slower way to work than sending the first file that opens without errors. It’s also why a design tends to run cleanly the first time it hits a client’s machine, instead of coming back with a list of problems.